
Welcome to Part 4 of this article/tutorial.
>>> Click here to go back to Part 1
>>> Click here to go back to Part 3
Assigning Materials to 3D models
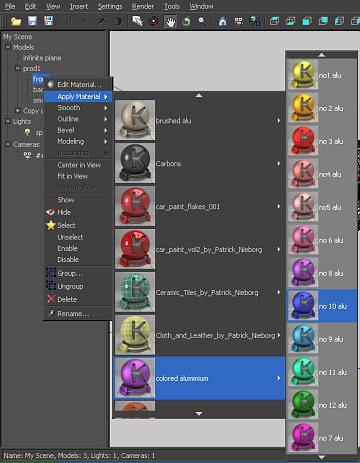
Now that the basic scene has been set up, we will need to assign materials to the 3D models. To apply existing materials from the library, go to the My Scene browser on the left side of the Kerkythea Interface. Under the Models section, find and and click on the model/part that you wish to apply a material to. Next, Right-mouse-click. You should see options displaying. Go to Apply Material and select the desired material shader. See the screen shot below.
If you have installed the additional material libraries, you should see more material types.
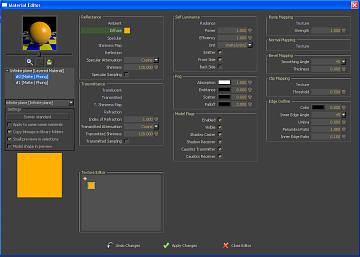
To edit the newly materials, click on the model/part on the My Scene browser. Right-mouse-click and select Edit Material. This will open up the Material Editor as shown below. Editing and creating material is a complex topic on its own. It will not be discussed in this tutorial.
In the next part of this tutorial, we will talk about Rendering settings.
>>> Click here to go to Part 5 of Kerkythea Basic Rendering tutorial.