
Part 5 of this tutorial discusses Rendering setting that have worked for me.
>>> Click here to go back to Part 1
>>> Click here to go back to Part 4
Rendering Settings
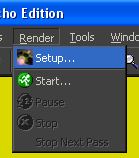
Before, we commence rendering, we will need to apply or edit the rendering settings. To do that go to Render >> Setup as shown below.
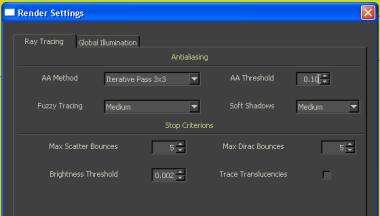
This should open up the Render Setting window as shown below.
For me, the following Ray Tracing parameters work quite well:
AA Method: Iterative Pass 3×3
AA Threshold: 0.10. The smaller the value the better the Anti-aliasing.
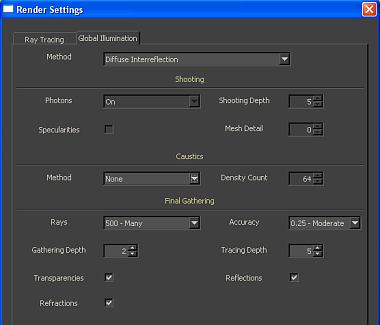
As for Global Illumination, the following setting is ideal for me.
Method: Diffuse Interreflection.
Ray: 200 or 500
For Caustics method, if there are no transparent materials or caustics are not desired, it is left as None.
This setting gives me the best balance between image quality and rendering speed.
Once, these settings are done, we will need to set the rendering image size. To do that go to Render >> Start as shown below.
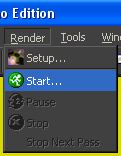
This will open up the Camera and Settings windows. Key in the desired Resolution.
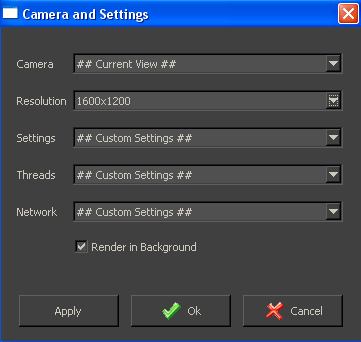
Once done, Click on OK to commence rendering.
Finally, phew… we have come to the end of the tutorial on basic rendering using Kerkythea. Thank you for reading and hope that it has been helpful. 🙂