
Welcome to Part 2 of the Kerkythea basic rendering tutorial.
>>> Click here to go back to Part 1
Setting up the 3D scene
Now that the libraries are installed, we can import our 3D models into the 3D environment.
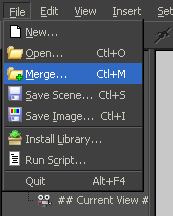
Kerkythea takes in both 3DS and OBJ 3D files. Typically, you can go to File >> New to create a new scene. Any 3D models can be inserted into the scene by using File >> Merge (as shown below). Click the Model: Add new to current option to browse and load the 3D files.
Note: The various surfaces of a single part of the model should be joined in the 3D modelling program before the model is being imported into Kerkythea. This is to reduce the number of parts that Kerkythea allocates which will ease manipulation and material assignment later.
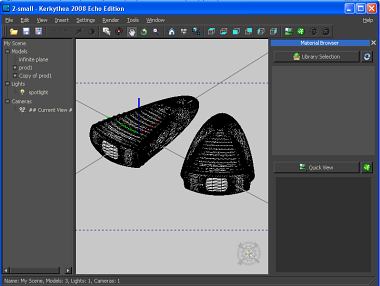
Your 3DS or OBJ models should come into the 3D scene flawlessly ( as shown below). In this case here, the model was created and the various surfaces of the parts joined in Rhino 3D.
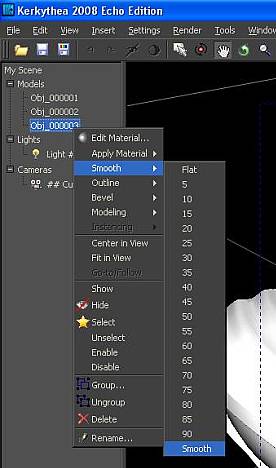
Usually, a 3D model will come into the scene as already smoothed. If it is not, right-mouse-click on the model/part name that is displayed on the My Scene browser. Go to Smooth and manually set the smooth value. The higher the value, the smoother the surface will be.
This is the end of Part 2 of this Kerkythea tutorial.