
This is part 2 of this Rhino3D version 4 tutorial. To be able to follow this article, one will need to have a basic understanding of how to use Rhino 3D, the powerful NURBS modelling program from Robert McNeel & Associates. Note: In Rhino 5, this will be necessary as one can simply use the SHELL command.
>>> Click here to go back to Part 1.
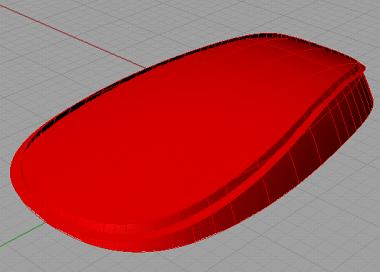
After Offseting the surfaces, hide the original surfaces. You should get something like as per below screenshot.
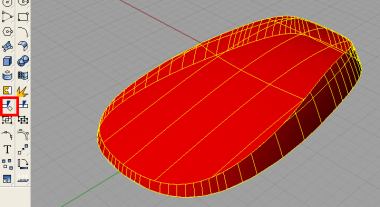
Next, using the Trim command, trim off the excess portions of the newly created surfaces. See screen capture below.
After this, unhide the original surfaces. To do that, go to the Hide icon and right-click on it.
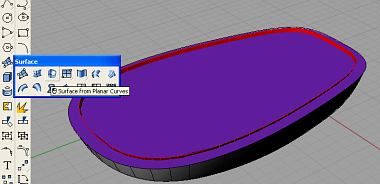
Next, create a closed object by covering the base. In this case, the Surface from Planar Curves was used.
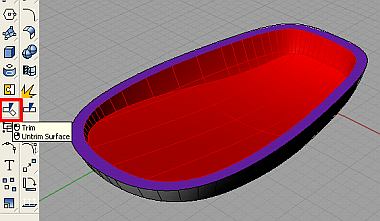
After this, trim off all excess surfaces using the Trim command. The trimmed model should look like what is being shown below.
We are almost done, but not yet.
We still need to check the 3D model for possible gaps or holes. We will need the model to be water-tight for downstream and eventual data transfer purposes.