
This tutorial is about creating 2D Illustration using Rhino 3D and Affinity Photo.
>>> Click here to go back to Part 1
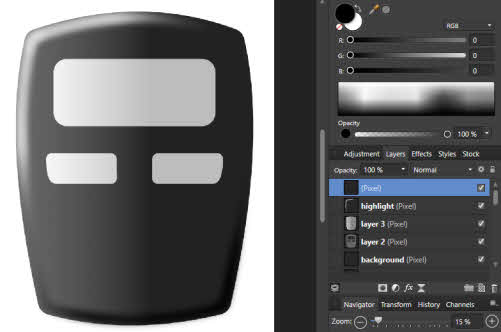
Do the colour fill in the new pixel layer.
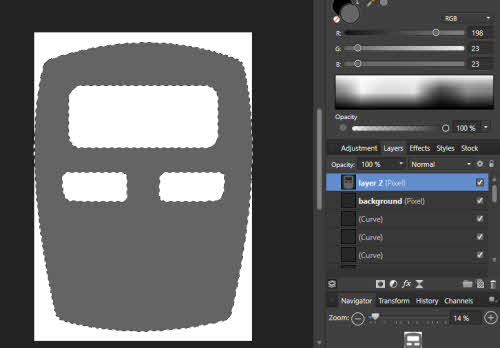
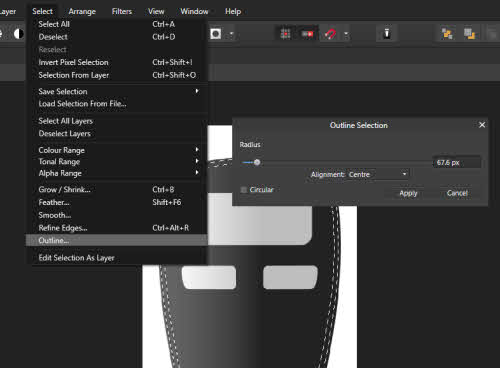
Repeat the process to fill the other areas. As mentioned, the layer with the lineworks should remain un-modified. The purpose of this background layer is to provide the platform for defining selection regions. Therefore, it should always be left unedited to faciltate easy definition of selection regions. The initial selections may be refined or modified using the options from Select from the Menu bar. For example, Select >> Outline can be used to make a border-type selection from an existing selection. Feather can then be used to soften the edges of the selection.
When the selection has been defined, go to the appropriate layer to fill in the colours. Colour filling may be performed using tools such as Brush, Gradient, etc.
That is all for this 2D illustration technique tutorial. Thanks for reading.