
This tutorial describes the generic workflow of Creating 2D Illustration using Rhino 3D and a 2D Image Editor such as Affinity Photo. The steps and screenshots are of that of Affinity Photo. However, the general process is also applicable to Photoshop as well as similar tools such as Photoplus.
To be able to follow this article, one will need to have a basic understanding of how to use Rhino 3D, the powerful NURBS modelling program from Robert McNeel & Associates.
Firstly, create the profile 2D curves and lines in Rhino 3D. We will not go into details as to how the curves are to be created. Basically, if you have fundamental proficiency in Rhino (or even AutoCAD), you should be able to create the curves.
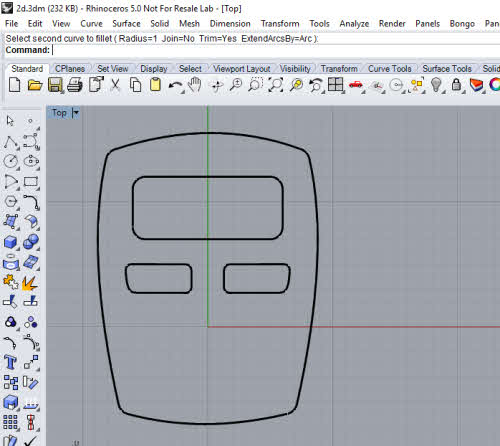
While still in Rhino, export the 2D profiles curves as PDF.
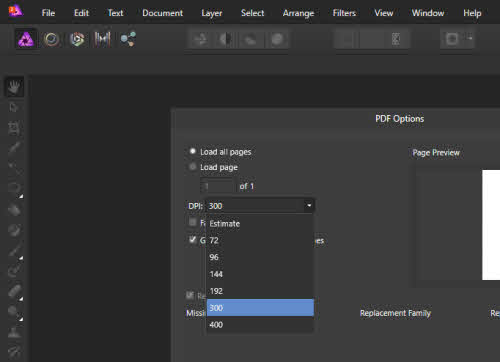
Open the PDF in Affinity Photo.In the PDF Option, select the correct DPI. In the example shown below, it is set to 300 DPI.
At the Layer Tab, select Merge Visible. This will merge the curves into one layer.

Note: The layer with the lineworks (background layer) should remain un-modified. It will serve as the reference layer.
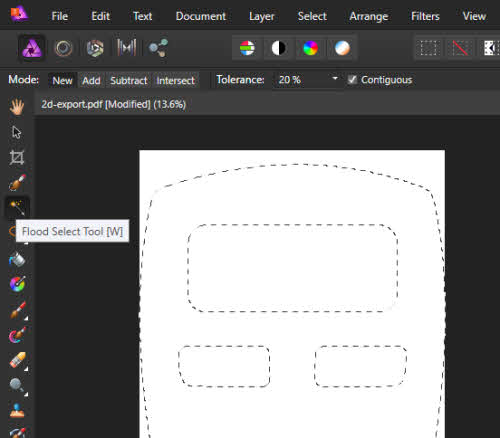
In the background layer (the newly created Pixel Layer in Affinity Photo), use the ‘Flood Select Tool’ to select required area of colour filling/painting. In Photoshop, this tool is known as Magic Wand Tool
Next, create a New Pixel Layer
