
This is a 3D model making tutorial is that geared mainly towards product and industrial design.
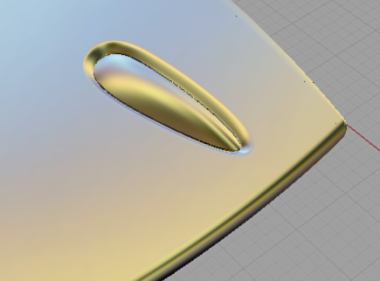
This tutorial is about building an organic button design as shown below.
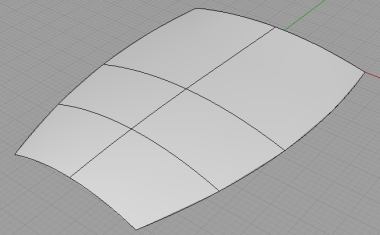
Firstly, we need to have the base body surface ready. For this tutorial, it is as shown below. The surface was built using loft, but other methods can also be used as well. The essential point is to keep the surface relatively free of undulations.
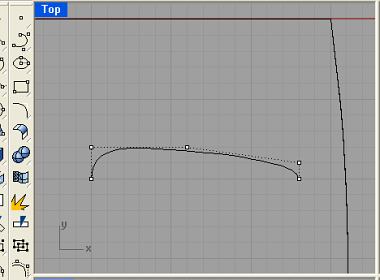
Now, build the top profile of the button. Use Control Point Curve to build it. It is important to ensure that 2nd CV is vertical to the first CV. Likewise, the 2nd-last CV should be vertical to the last CV. This is to ensure tangency.
Typically to do that, I will use F8 Key to “ortho” the movement of the cursor an/or F9 key to snap to grid.
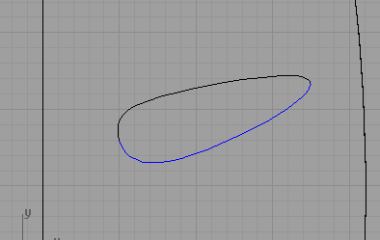
Next, we need to build the bottom profile of the button. Again, the 2nd CV should be vertical to the first one. And, the 2nd-last CV should also be vertical to the last one.

Next, rotate and move the 2 curves to the desired orientation.
This is the end of Part 1 of Organic button making Rhino 3D tutorial.