
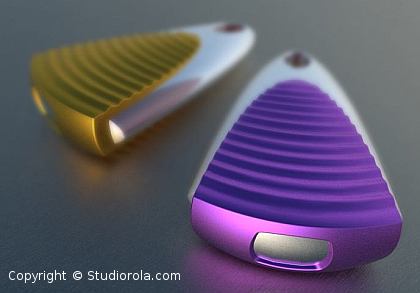
This is a Kerkythea rendering system tutorial about creating Depth of Field (Dof). There are more than one way to create Depth of Field impressions using Kerkythea. For this tutorial, I will highlight the method that I like the most. The final image with Depth of Field is as shown directly below.
This method uses Depth Map and GIMP graphic image editor. GIMP is a free 2D image editor that is comparable in function to many commercial products.
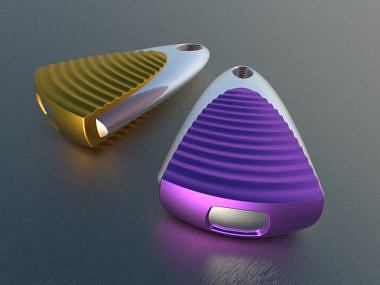
For this method, we will assume that the original image (non-Dof-ed) has already been rendered using Kerkythea.
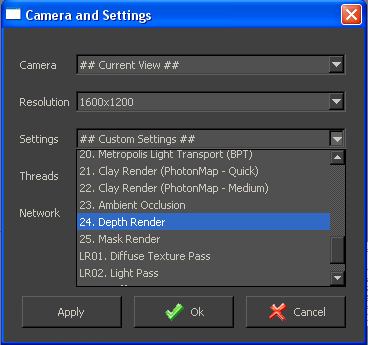
After the original rendering has been created, we will need to create a Depth Map using Kerkythea. To do that go to Render >> Start. Select Depth Render from the Settings option. Click OK to render your 3D scene.
Below is an example of a Kerkythea generated Depth Map.
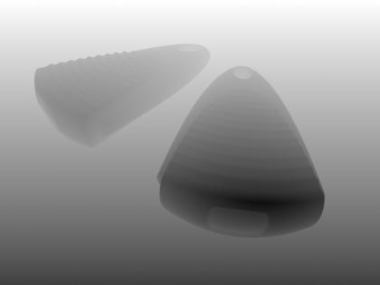
After the depth map has been rendered, save it onto the hard drive. In the next part of the tutorial, we will need to use the Depth map to apply the DoF effect onto the original rendering.