
This is Part 2 of Kerkythea Dof tutorial.
Click here to go back to Part 1.
In Part 1, we have already created the depth map.
Now, we need to go to the GIMP. Although GIMP is used for this tutorial, the method and process used here are also applicable to Photoshop.
In GIMP, open both the original rendering and the depth map.
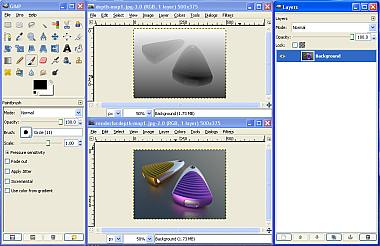
Go to the Depth Map. Using Edit >>> Select All, copy the depth map.
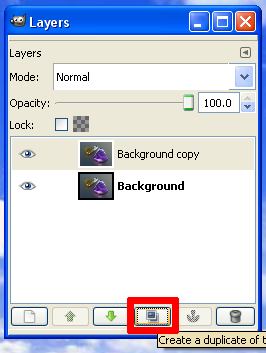
Now go to the original rendering, duplicate a new layer of the background (as shown below).
Now, in the Duplicated layer, right-click the mouse and add Layer Mask (as shown below).
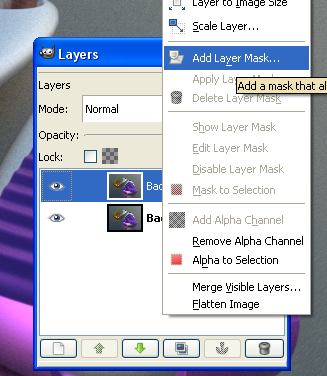
Now, right-click the mouse again to activate Show Layer Mask. The image window should turn white.
Next, paste the copied Depth Map into it. You shown get something as shown below. Click on the anchor icon on the layer dialog to anchor the depth map into the Mask Layer.
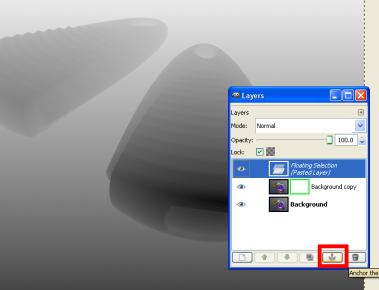
Once the Floating selection (copied Depth Map) has been anchored, right-mouse-click again to de-activate Show Layer Mask.
This is the end of Part 2.
One thought on “Kerkythea – DoF using Depth Map and GIMP (Part 2)”
Comments are closed.