
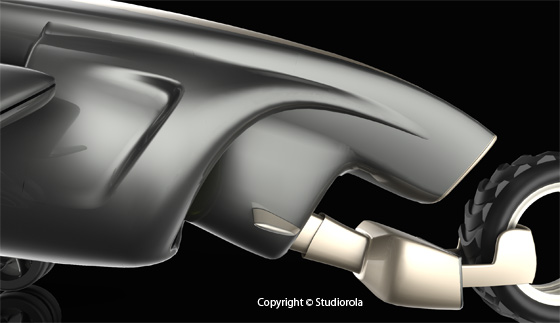
Rhinoceros 3D is one of the few 3D modelling CAD package that can create accurate and precise surfaces with curvature (G2 & higher) continuity. Because of that, it is especially suited for product and industrial design surfacing.
>>> Click here for more info on Advanced Rhino 3D Modeling Course
There are a few points to take note when creating adjacent surfaces with good level of continuity to each other. Traditionally, position (G0) and tangent (G1) level continuity are not sufficient for smooth transition and can result in a noticeable break to the ‘flow’ of the form.
In order to maintain surface continuity with neighbouring (adjacent) surfaces, the curves to be used for surfacing MUST likewise attain the required continuity as well.
That is,
1. Construction curves must be tangent to each other in order for the corresponding surfaces to maintain tangency continuity.
2. Construction curves must be curvature to each other in order for the corresponding surfaces to maintain curves continuity.
It must be noted that in order to create a curve with a certain degree, the minimum number of control points required is ‘Degree + 1’. That means, a degree 3 curve will require a minimum of 4 control points. In Alias Studio, Control Points are call CVs. A good practice is to use the minimal amount of control points (CVs) to get the curve created. This is because we will want to minimise the necessary undulations that can result from excessive amount of manually-created control points.
Additionally, we can also investigate the continuity changes and dynamics along curves and surface. This can be done using the Curvature Graph. This is as shown below.

To build adjacent curvature curves, one method that I use is to
1. first build a curve that is tangent to the adjacent curve.
2. Use Match tools to rematch the curve to G2 continuity
3. Fine tune the curve with a combination of Curvature Graph and End Bulge command.
To build a tangent curve, I turn on the Control Point Display of the surface to be tangent to. (As shown below)

Next, I start to create the curve using the Control Point Curve.
First, use the point or end osnap to snap the first control point of the curve to the end of the edge. Next, making sure that the Point Osnap is enabled, snap (but do not click) the next point to the next control point of the existing surface edge. This is as shown below.

The directional lock is now activated. Move the cursor to the opposite end to start clicking to create the curve. As we want to create a curvature-level curve, the minimum number of control points (CVs) required is 4 (ie, 3 +1).
Additionally, if we are creating the curve correctly, the 2nd control points of the surface edge and the newly create curve as well as the 1st point of the curve should form a straight line. This is as illustrated below.

Now, turn on the Curvature Graph for the edge as well as the newly created curve. For this illustration purpose, the edge curve is used to display the curvature graph instead of the surface itself. This is as shown below.

As you can see, the Curvature graph shows that the flow is not continuous and smooth. The break indicates that the match between the edge and the newly created curve is not G2.
This is the end of part one of the article.
>>> Click here to go to part 2 of surface continuity article.
Disclaimer: We are in no way to be held responsible if the results is not as desired by you.